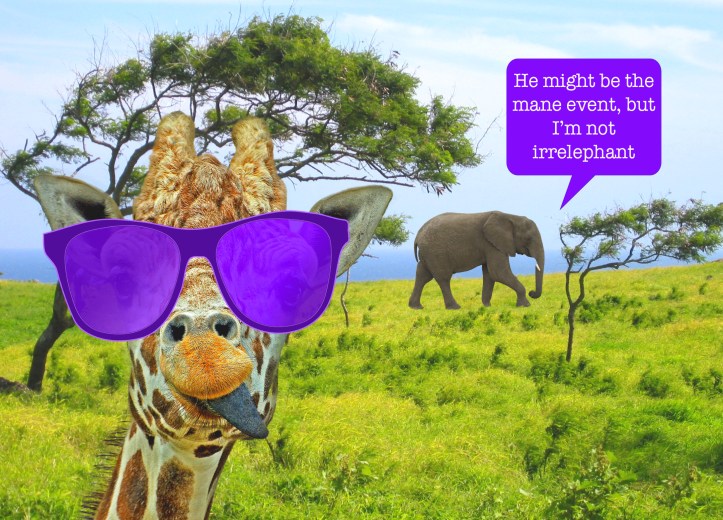
We were tasked with combining the following 4 files into a fun image:


First I opened the field and embedded the giraffe. One reason I chose this order is because I wanted a rectangular canvas. The Magic Wand Tool did a pretty good job capturing the mane, which was important for my word play later in the speech bubble. I did have to help it out a little. Next, I did Select>Inverse, then Select and Mask. I played with the Radius until the blue left over from the background was gone from the mane. Then I used the Spot Healing Tool to remove a black streak from under each of the giraffe’s eyes, a fur spot from under his left eye, and 2 wisps of hair from the right side of his face. I also used Spot Healing to remove some white spots from his tongue. Then I used a brush, zoomed in to the level of individual pixels, and covered more of the white pixels with an opaque brush to make the tongue appear more uniform. I put the giraffe, layer mask, tongue, and shades in a folder so I could size and move him as a unit to the left side of the image and make room for the elephant.
Using the Magnetic Lasso Tool, I selected the elephant and copied him into a new layer. I rotated and sized everything to an appropriate scale (well, as appropriate as a giraffe in shades and a smart aleck elephant can be, of course!), and added a speech bubble and text. I adjusted both Light and Saturation, and then noticed that the giraffe’s bright reds didn’t exactly cohere with the overall image. So I turned the magenta down -25 so everything coordinated. What a fun project!
Tool: Photoshop